 |
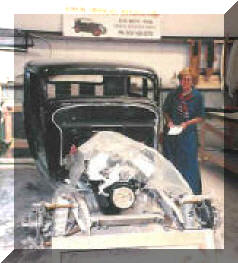
Gibbon Fiberglass
Was one of the best reproduction Ford body and parts builder
(unfortunately no longer in business). They always built
the body on the frame that will be used with the car. This made the
fit much easier to achieve and maintain. Here the sides, rear and top
are glassed together. Oak reinforcement is used since it more closely
matches the expansion rate of fiberglass than does steel. Of interest,
they use wood in about the same places as did Henry with the steel
originals! Wife Christine is checking out the progress. |
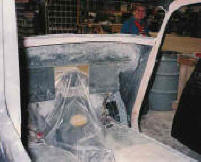 |
Getting Proper Clearance. The
secret of having 1/4 inch clearance around the ZZ 502 Big Block is the
firewall and floor pan are being laminated in sections to exactly fit
the engine set back and transmission. |
 |
Getting Perfect Fit
Fitting doors and fenders requires a lot of patience and effort. You must
have the final wheels and tires if you expect the finished product to fit
and look right. |
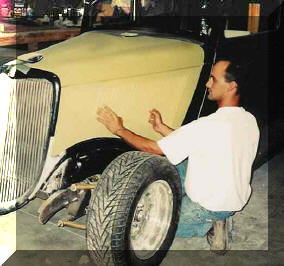 |
Fitting Steel Hood
Scott
did most of the fitting and finishing.
Here he fits a Rootleb hood
with stock lovers on the side. That a good choice
(see Keep-Cool page) since it really helps get
the hot air out of the tight engine compartment! After several years
all the gaps remain very uniform and accurate. |
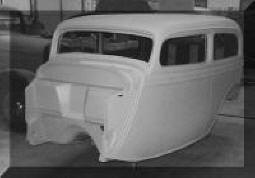 |
Sanding and Sanding After all the glass work is
completed, fenders and running boards fit it was time for many sessions of
block sanding and wet sanding before the high build primer was spayed on.
Then just more sanding again, however this time with finer and finer paper. |
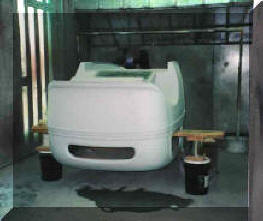 |
Apply the Paint The
first thing painted is the underside of the car. The frame had
already been painted and looked too good to cover up. It's simple to
paint the bottom, just get the whole shop to help turn it over! |
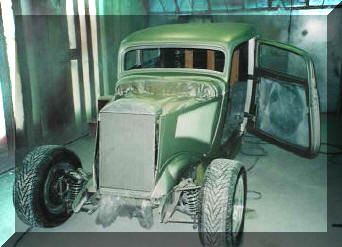 |
The next steps are critical to the way Kyle Bond the
owner and master painter, did the flames. First several coats of the main
color are spayed. This was done on a Friday night since the clear coats
must be put on within 24 hours. First thing Saturday morning
the flames were started. Sketches were made and pictures of flames on other
cars collected but ultimately having seen Kyle's work, it was left up to him. |
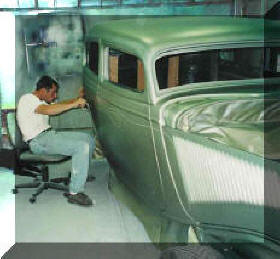 |
Start Flames Kyle laid out the flames by hand with thin masking tape. After the
first side and hood were done he duplicated the pattern on the other side.
Now all the areas that were not to be painted with flames were masked. Lots of masking
paper was needed. |
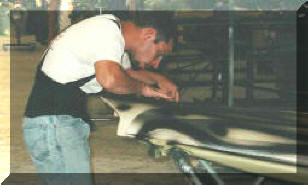 |
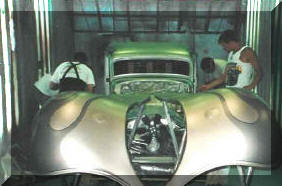
Pin Strips The flames are "pin striped" on
one edge in black. First areas to be stripped are
spayed in black. It makes no difference that black paint
goes into other parts of the flame...since Kyle takes 1/8 inch masking tape and
covers the black where the stripes will be! All other black will be covered
in the dark silver. Note the back brace Kyle is wearing when he is doing the
fenders! This step took several hours. |
 |
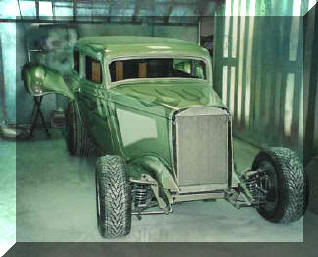
Spray Flames "Striping"
finished the darker silver flames were spayed.
After the paint set for 15
minutes all the pin "striping" tape was carefully removed. You could see the very
uniform sharp black edge of the flame. Then everyone could pitch in to
carefully remove
all the masking tape. |
 |
Clear Coats You can see the gloss after one clear coat. It
was spayed 20 hours from the start of the project! Several
more followed. Note all the fenders were painted separately then assembled
at the end. At first we thought the flames would not stand out as much as
they do since the frame colors were not that distinctly different. However the
combination of the black "pin stripes" on one edge and the curved body
and fender shape which reflects the
light differently makes the final effort subtle but very noticeable. They
are not ghost flames. |
 |
Car In Magazine We got lucky. When the car was finished being painted
and body parts assembled, Street Rod
Builder Magazine did a story on Gibbon. They took a photo of the car by going up in a fork lift! It came out great even though is was far from
finished. The photo on the left was taken from the January 2001 issue. |